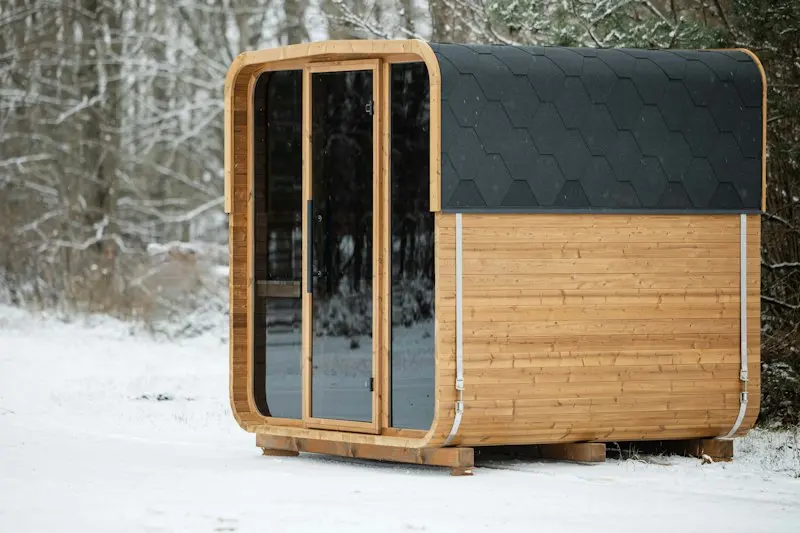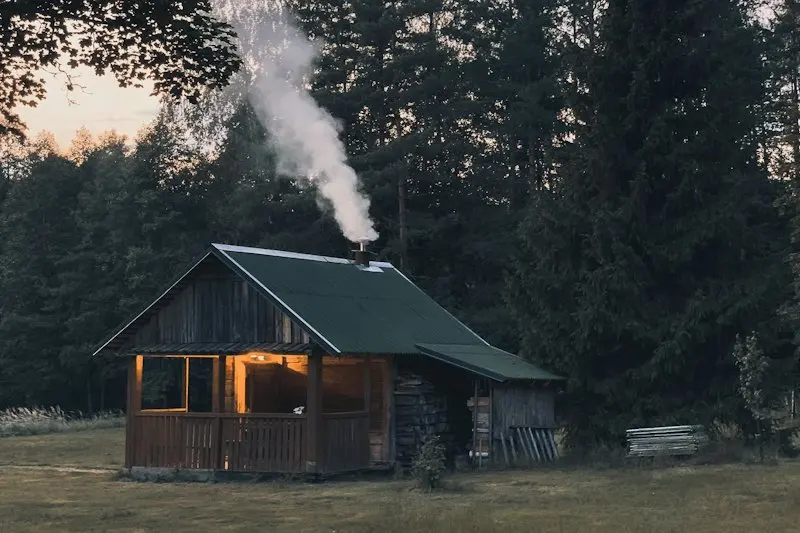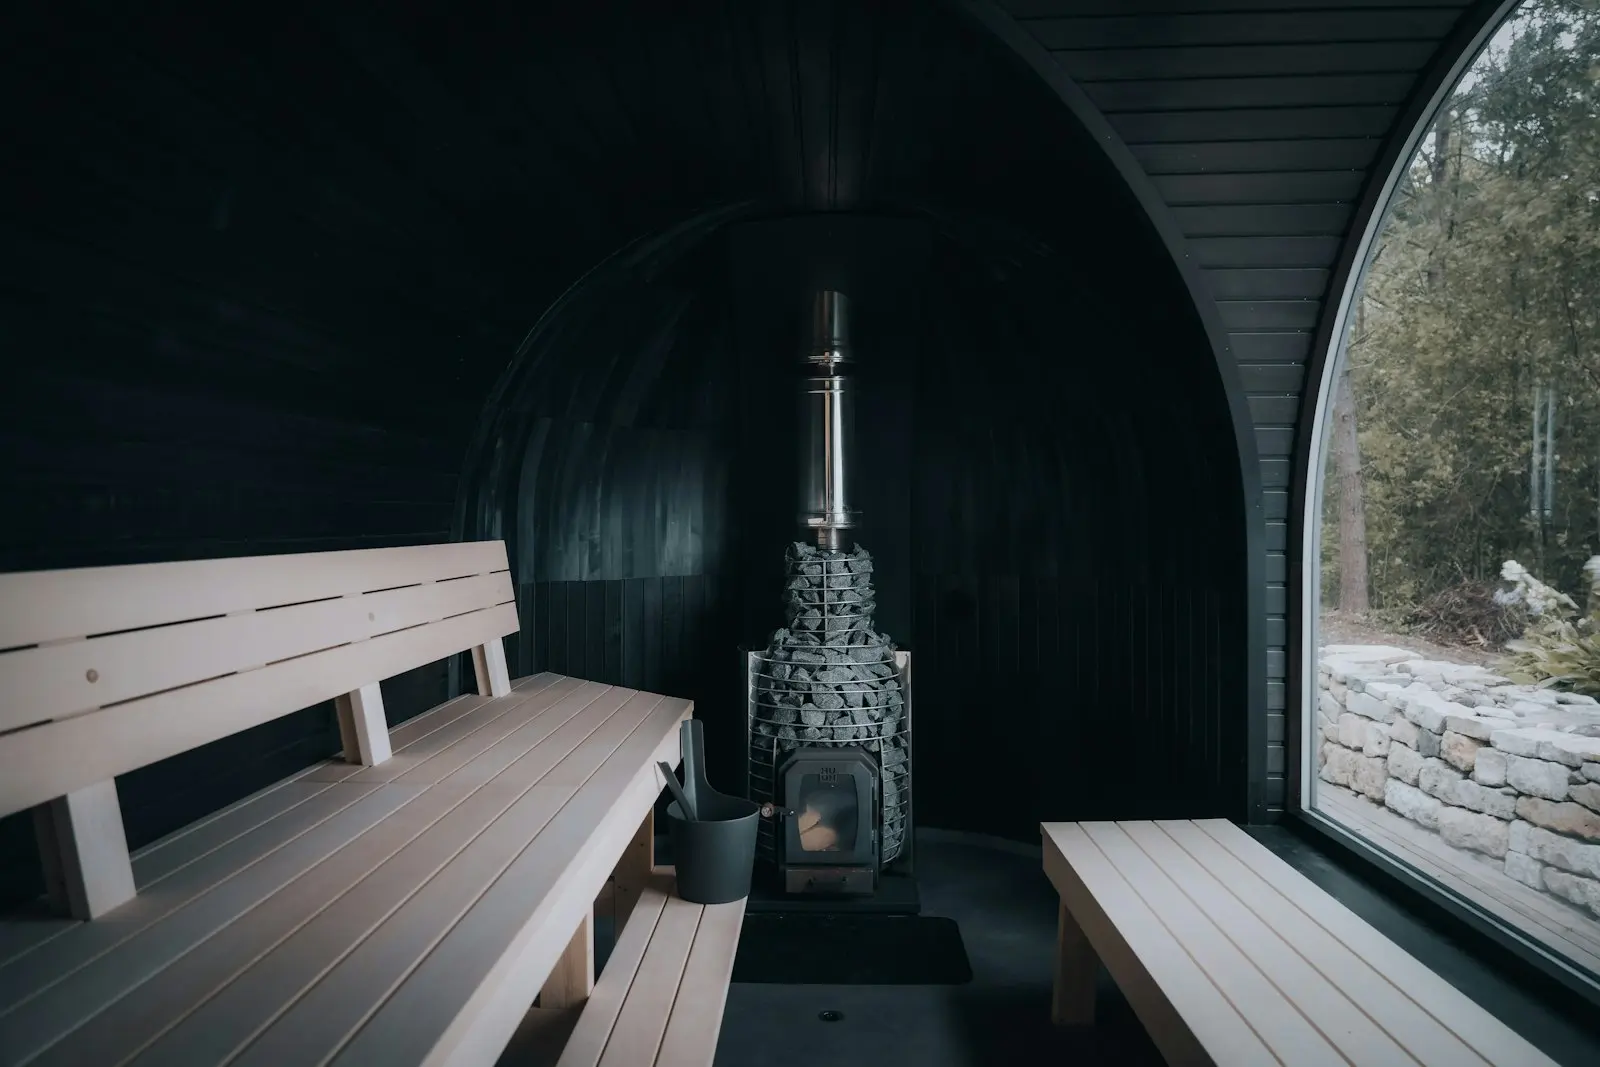
Short answer. Two people with basic tools can typically assemble a barrel or pod sauna kit in one to two days. A cabin kit usually takes several days. Those figures assume the level base is already built, and they leave out the heater wiring, which belongs to a licensed electrician.
Key facts
- Sellers typically quote one to two days for two people to assemble a barrel sauna kit, not counting the foundation or the electrical work.
- A cabin sauna kit with a framed roof typically takes two people several days to assemble, because it adds a floor frame, roofing and trim.
- Assembling an outdoor sauna kit takes at least two adults, and a third helper is useful when the end walls and the door are set.
- Assembling a barrel sauna kit needs basic tools: a level, a rubber mallet, a drill and driver, a socket wrench for the bands, a tape measure and a stepladder.
- An out-of-level base is the most common cause of gaps between staves and a door that binds on a newly assembled barrel sauna.
How long does it take to assemble an outdoor sauna kit?
Sellers typically quote one to two days for a barrel or pod and several days for a cabin, with two people. Treat those figures as a best case for a first build.
| Kit type | Typical quoted time | People | Skill level | What takes the time |
|---|---|---|---|---|
| Barrel | About one to two days | 2, a third for end walls | Careful beginner | Setting staves evenly, tightening bands |
| Pod | About one to two days | 2 to 3 | Careful beginner | Shell panels and shingles |
| Cabin, panel walls | About two to three days | 2 to 3 | Some building experience | Squaring walls, roof and trim |
| Cabin, framed roof and insulation | Several days | 2 to 3 | Confident DIY or a hired carpenter | Roof framing, roofing, interior lining |
These are common figures from sellers' listings, not measured times. They do not include the foundation, the delivery day or the electrical work. Shape affects more than the build, as we explain in barrel sauna vs cabin sauna.
What needs to be ready before the kit arrives?
Three things: the base, the route from the street and the plan for power.
- The base. It must be finished, level and dry. See outdoor sauna foundation options.
- Delivery. Most kits arrive on a pallet or in a crate, dropped at the curb. Crates can weigh well over 1,000 pounds. Plan to open the crate where it lands and carry the parts in by hand.
- Power. For an electric heater, book the electrician early. The conduit often has to be in place before the sauna stands on it. See outdoor sauna electrical requirements.
- Weather. Pick two dry days. Keep the wood covered and off the ground until it is assembled.
What tools do you need?
Basic hand and cordless tools cover most barrel and pod kits. The manual lists the exact set.
- A long level, about 4 feet, and a tape measure
- A rubber mallet, for seating staves without bruising them
- A cordless drill and driver with the right bits
- A socket or ratchet wrench for the band bolts
- A stepladder, a utility knife and a pencil
- Clamps or ratchet straps, useful for holding a barrel together before the bands go on
- Work gloves and safety glasses
A cabin kit can add a saw, a hammer or nailer, a caulking gun and roofing tools.
How a barrel kit goes together
- Sort and count. Lay out every part and check it against the list. Report missing or damaged pieces before you start.
- Set the cradles. Space them as the manual says and check that they are level and parallel. Everything else follows from this step.
- Lay the bottom staves. Start at the center of the cradles and work outward on both sides.
- Stand the end walls. The front and back walls sit in a groove in the staves. This is the heavy lift where a third person helps.
- Close the circle. Add staves up both sides to the top, tapping each one into the tongue and groove. The last stave is often a narrower filler piece.
- Fit the bands. Wrap the steel bands around the barrel and tighten them evenly, a little at a time, until the joints close.
- Finish the inside. Install the benches, the floor boards, the heater guard, the vents and the door hardware.
- Add the roof cover. Fit the shingles or cover if the kit has one, then apply the exterior finish the maker recommends.
The heater is mounted to the maker's clearances. An electrician connects an electric heater. A wood stove needs its chimney and heat shields installed exactly to the manual.
How a cabin kit differs
A cabin is built like a small shed. The floor frame or skids go down first and must be square, measured corner to corner. Wall panels or interlocking boards go up next, then the roof structure, the roofing, the trim and the interior. Insulated models add a vapor barrier and an inner lining.
There are more parts, more fasteners and more work at height. That is why quoted times run to several days, and why more owners hire help for cabins.
Common mistakes
- Building on a base that is not level. It is the main cause of stave gaps and a door that binds.
- Skipping the parts count. Finding a missing piece halfway through stops the build with the wood exposed.
- Forcing boards. If a stave will not seat, check the order and the direction. Do not hammer it bare. Use a mallet and a scrap block.
- Overtightening screws. Thermally modified wood and cedar split more easily than framing lumber. Drill pilot holes where the manual says.
- Tightening bands once and forgetting them. Staves shrink and swell. Recheck the bands after the first heat cycles and through the first season.
- Leaving the wood out in the rain. Wet boards swell and are hard to fit.
- Ignoring heater clearances. The distances in the heater manual are safety limits.
When should you hire help?
Hire help when the job is beyond your time, your tools or your back. Common cases:
- You have no reliable second adult for two full days.
- The kit is a cabin with a framed roof or insulation.
- The yard is steep, far from the street or reached by stairs.
- The base still needs building and you have never done one.
Some sellers offer assembly as a paid service. A local carpenter or handyman can also work from the manual. Either way, the heater circuit is separate, licensed work. Assembly labor is one of the lines in what an outdoor sauna costs.
Steps and times vary by model. The manual of your kit overrides anything on this page, so read it in full before ordering. Many sellers post it online.
Common questions
How long does it take to assemble a barrel sauna?
Sellers typically quote one to two days for two people with basic tools. That figure assumes a finished, level base and does not include the electrical work. Allow extra time for unpacking, sorting parts and reading the manual.
Can one person assemble an outdoor sauna kit?
Not safely. End walls, the door and long staves are heavy and awkward, and several steps need one person to hold while the other fastens. Plan for at least two adults, and three for the heaviest lifts.
What tools do I need to assemble a sauna kit?
Most kits need a long level, a rubber mallet, a cordless drill and driver, a socket or ratchet wrench, a tape measure, a utility knife and a stepladder. A cabin kit may also call for a saw, a hammer or nailer and roofing tools. The manual lists the exact set.
Is it hard to build a DIY outdoor sauna kit?
A barrel or pod kit is within reach of a careful beginner, because the parts are precut and slot together. A cabin with a framed roof takes more skill and time. The heater wiring is a job for a licensed electrician in either case.
Should I hire someone to assemble my sauna kit?
Consider it if you have no helper, the kit is a large cabin, or the yard is hard to reach. Some sellers offer assembly as a paid service, and a local handyman or carpenter can also follow the manual.